You are settling into bed when you hear it: a sharp chirp from somewhere near the hallway, followed by silence. Then it happens again several minutes later. Fire alarm chirping is annoying, but it is usually a warning that the alarm needs attention, not a reason to remove the device or ignore it. Five minutes now beats five hours later, especially when the equipment responsible for waking your family during a fire is asking for help.
First, identify the sound
A single chirp at regular intervals often points to a low battery. Many alarms chirp once every 30 to 60 seconds, although the timing differs by model. A repeating pattern of three loud beeps, a continuous alarm, or an alarm that sounds after detecting smoke is different. Treat those sounds as an active emergency.
If you smell smoke, see flames, feel unusual heat, or hear a sustained alarm, get everyone outside immediately. Do not spend time searching for a battery or checking each room. Call 911 from outside and do not reenter until firefighters say it is safe. Fire alarm chirping is a maintenance signal; a loud, repeating alarm is a possible fire warning.
Also check whether the sound is actually coming from a smoke alarm. Carbon monoxide alarms, security systems, water-leak sensors, and low-battery devices can sound similar. Walk through the house carefully during daylight, using the silence between chirps to locate the source. A broom handle can help you identify a ceiling-mounted unit, but do not strike or shake it.
Replace the battery safely
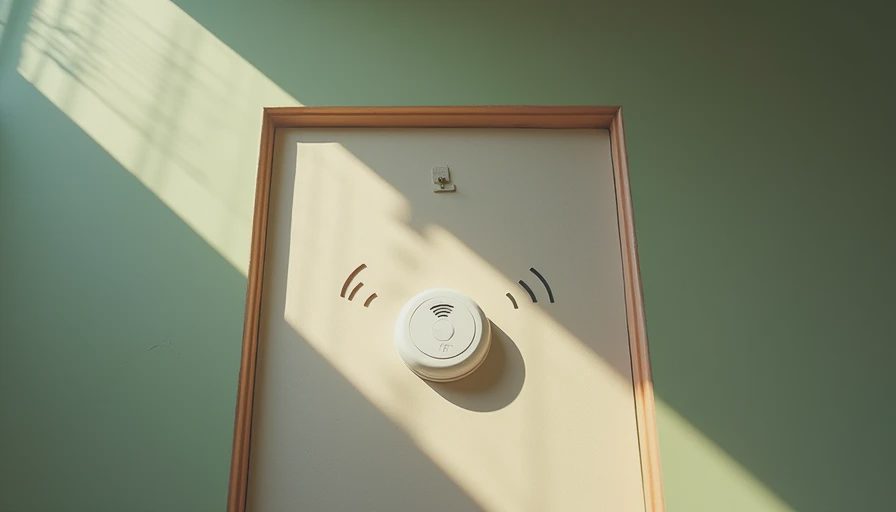
If the alarm uses a replaceable battery, press the test or hush button first if the manual allows it. Then twist the alarm from its mounting bracket or open its battery compartment. Use the battery type printed on the alarm or listed in its manual. A common 9-volt battery is not automatically correct for every model; some alarms use AA batteries, lithium cells, or sealed ten-year power packs.
Match the positive and negative ends to the markings. Close the compartment completely and reinstall the alarm. Press the test button until you hear the test pattern. The test should be loud enough to hear from bedrooms with doors closed. If it does not sound, install a fresh approved battery and inspect the contacts for corrosion or dirt.
After replacing the battery, fire alarm chirping can continue briefly while the unit resets. If the sound persists, remove the alarm from its bracket only as directed by the manufacturer and wait a few minutes before testing again. Never leave a working bedroom alarm disconnected while you shop for a replacement.
Hardwired alarms need a closer look
A hardwired alarm receives household electrical power but normally has a backup battery. That battery can still cause fire alarm chirping when it becomes weak. Turn off power at the circuit breaker before removing a hardwired unit, and use the instructions for your specific brand. The wiring harness should remain connected unless you are qualified to work on household electrical systems.
Some interconnected alarms communicate with one another. When one unit detects smoke or has a fault, every connected alarm may sound. A replacement must be compatible with the existing network. Installing a random alarm can disable the interconnection or create nuisance alarms. Brands such as First Alert and Kidde offer interconnected product lines, but their systems are not automatically interchangeable.
If the alarm is sealed, hardwired, difficult to access, or connected to a monitored security system, contact the property manager, electrician, alarm company, or manufacturer. Do not cut wires, remove the unit permanently, or cover it with tape to stop fire alarm chirping.
Clean the alarm and check its location
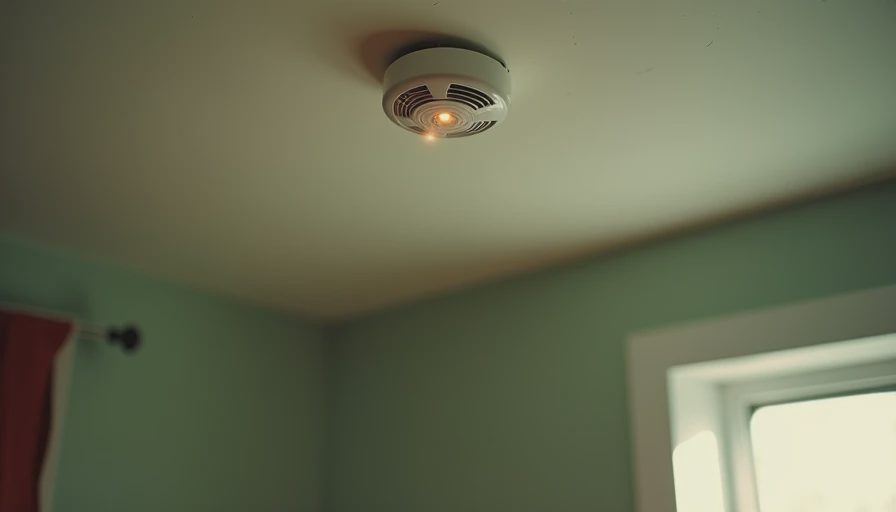
Dust, insects, steam, and cooking particles can trigger trouble signals or nuisance alarms. With the power disconnected when required, gently vacuum around the alarm vents using a soft brush attachment. Do not spray cleaner, water, insecticide, or compressed air directly into the unit. A bathroom alarm may react to shower steam, while a kitchen alarm may react to toast or frying oil.
Placement matters. Smoke alarms should generally be installed inside bedrooms, outside sleeping areas, and on each level of the home, following local requirements and the manufacturer’s instructions. Keep them away from vents, fans, and corners where air may not circulate properly. If an alarm near a kitchen repeatedly causes problems, do not simply remove it. A photoelectric model or a properly positioned replacement may reduce nuisance alarms, but the location still needs to provide meaningful protection.
Know when replacement is the right answer
Smoke alarms do not last forever. Many manufacturers recommend replacing the entire alarm about every ten years, while the label or manual provides the final guidance. Look for a manufacturing date on the back or side. Replace an alarm sooner if it has been painted, damaged, exposed to water, repeatedly malfunctions, or fails its test button.
A fresh battery will not fix an expired sensor. If your alarm continues fire alarm chirping after a correct battery replacement and cleaning, buy a new listed unit rather than repeatedly pressing hush. A basic replacement often costs about $15 to $40, while interconnected, combination smoke-and-carbon-monoxide alarms can cost more. The small expense is easier to manage than discovering an old sensor cannot warn your family.
Keep receipts, manuals, and model numbers in a shared phone note. That makes it easier to find compatible replacements later, especially if one alarm is part of a connected system. If you rent, report the problem in writing so there is a clear maintenance record.
A five-minute household check
Start by telling everyone that a real alarm means leaving, not investigating. Choose an outdoor meeting point such as a mailbox or a neighbor’s driveway. Check that every sleeping room can hear the alarm with the door closed, and test units according to the manufacturer’s instructions.
Next, inspect the dates on every device. Replace missing, damaged, expired, or unreliable alarms. Put spare batteries where adults can find them, but keep them away from young children. Never disable an alarm because a child or pet dislikes the sound; practice the evacuation instead.
Finally, write down the emergency address and teach children to call 911 from a safe location. Emily asked the question most readers are probably asking too: what if the chirp stops on its own? Treat that as a clue, not a fix. A battery may have shifted, the temperature may have changed, or the device may be failing.
Fire alarm chirping is your prompt to inspect the system today. Find the source, distinguish a maintenance chirp from a real alarm, replace the correct battery, clean the unit, and replace old equipment. Protect the front door before you build a taller fence: reliable alarms are one of the simplest ways to give your family more time to get outside.




No notes on this sheet yet.